One of the challenges of moving to a new home is transporting some of the more fragile items. If you have a fish tank, it’s not only made of glass that can break, but it is a somewhat large and bulky item to manage in a moving vehicle. The other unique factor when moving your fish tank is there are living creatures involved that you would hope are still alive when they reach their destination.
Given these challenges, you will need to follow a plan to make sure your move doesn’t end in tragedy for your aquatic pets or for the fragile and expensive home in which they live. Here is a step-by-step guide to moving your fish tank relatively easy.
1. Preparation
You will need to get some supplies and gear to enable you to transport your fish tank safely. You will need some 5-gallon buckets for the fish with lids that seal tightly and a siphon hose to drain the water. You will also want to scope out the best spot for your fish tank in your new home because you want to place your fish in their home as soon as possible when you arrive at the destination.
2. Draining the water
Use your siphon hose to remove water from the tank into the buckets until they are about two-thirds full. Avoid the mistake of trying to move a fish tank filled with water because this is very likely to end in disaster.
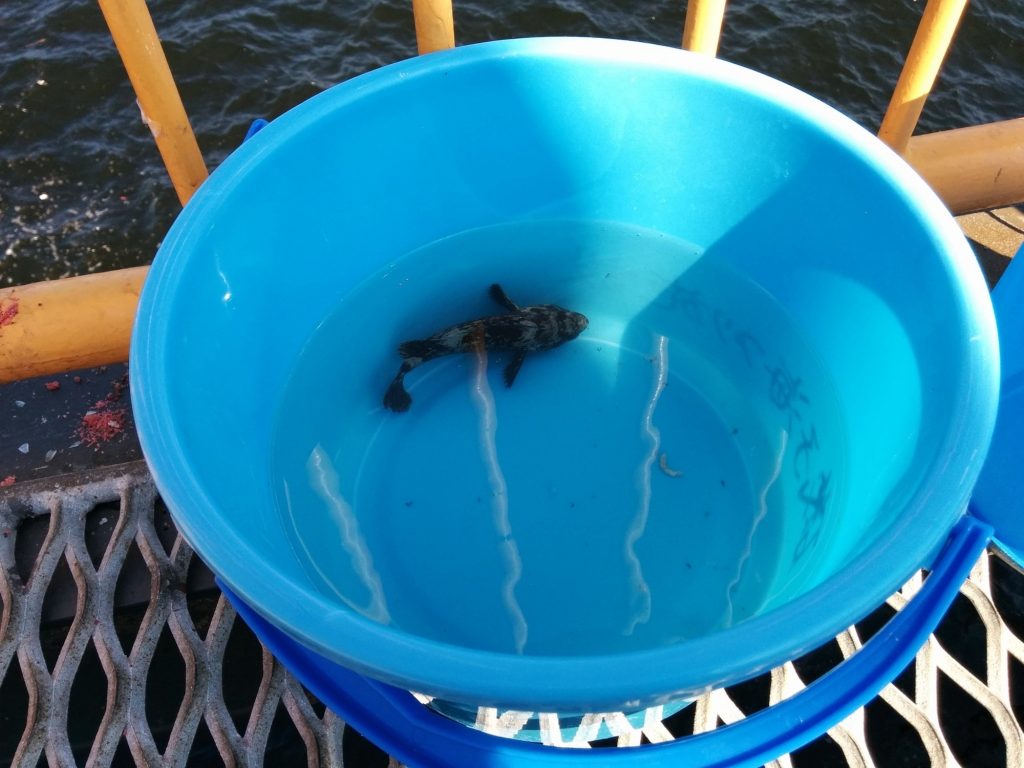
3. Removing fish
As you drain the water, you will need to carefully remove the fish and place them into the buckets with a net. If you have a lot of fish, it may seem necessary to use more buckets so that they are not too crowded together during transport. Depending on the number and size of the fish, use your best judgment about how many buckets you will need. Count your fish before and after you transfer them to the buckets to make sure none of your pets are left behind.
4. Disassembling the tank
Take the mechanical accessories like pumps, lights, and heaters, and place them into a secure container. Do the same for all of the decorative items like coral, rocks, and so forth. Next, drain the rest of the water out until the tank is empty. After the water is out, remove the sand and gravel, and set it aside into a sealed bucket or container.
5. Placing the tank into the vehicle
Protect it with bubble wrap on all sides and on the bottom to prevent damage during shaking and shifting. If you have a big fish tank, don’t try to move it by yourself. Since you’re setting it up before any other items in your home, you will want to load it into the vehicle last so that it will be immediately accessible when you open the rear door.
6. Unloading and setting up the tank
As soon as you arrive at your new home, place it into its designated spot in your residence. Carefully assemble the tank, and set the water and fish inside where they will once again dwell in a healthy environment.